Moving a domain name from one registrar to another can be tricky, especially if it’s something you don’t do often. If the domain is attached to a live site, doing it wrong could result in downtime.
I wrote this guide for myself, to remind me of some of the gotchas associated with migrating a domain name from Squarespace, which probably the most frequent type of domain move that I do.
One big thing to realize is that the domain transfer process can take seven days or more to complete from the time you initiate it at the receiving registrar. Make sure you will be around (and not on vacation or something) during the whole process!
Another note is that the domain that you want to transfer must have been registered or transferred at least 60 days ago.
1. Update Your Registration Info at Squarespace
The first thing you should do is update your domain name’s Registration Information at Squarespace. Specifically, make sure you have access to the email account listed.
Here are the steps to do it (as of 7/2019):
- Log into Squarespace and go to Domains. Click on your domain.
- It should appear under “Domains Managed by Squarespace”. Click on it again.
- Click on Registration Information
- Click on any of the Contact types to edit
- Check “Apply to all Whois records”
- Update your info, making sure the email address is good. I recommend setting this to your email address, not the client’s, so you have complete control over it. It can be changed later!!
- Click “Update Whois Record”
- Very important: you’ll receive a confirmation email with a link to click. You need to be able to receive that email and click the link.
2. Make a Copy of the DNS Records
Many online guides fail to mention this step, but it’s critical!!! After you transfer the domain name, these records will disappear so you need to copy them now, ESPECIALLY if you are using an email address @yourdomainname!
Log into Squarespace and go to Domains, then click on the domain you are transferring.
Next, click on “DNS Settings” and copy the settings that appear. I do a copy and paste of the text AS WELL AS a screenshot of the screen to make sure I don’t miss anything.
Store these in a really safe place!
3. Unlock the Domain and Get Transfer Key
OK, now you’re ready to do the steps outlined by the Squarespace online docs.
Basically, go back to your domain settings in Squarespace and uncheck the “Whois Privacy” and “Lock Domain” checkboxes.
You might as well uncheck “Auto Renew” as well.
When I did this, I did a “whois” to see if my contact info would show up for the domain name, but it didn’t. Rest assured, the transfer can happen anyway. I found a Squarespace article that said:
“After WHOIS privacy is disabled, your contact information will be hidden behind a “Redacted for Privacy” message, but your domain will be eligible for transferring to another host.”
https://support.squarespace.com/hc/en-us/articles/205812338
OK, you’re done at Squarespace for now.
4. Create an Account at the Destination Registrar
I use Namecheap as the domain name registrar for most of my clients because they are reliable and are reasonably priced. So, these instructions will refer to Namecheap but doing it elsewhere will be similar.
If I’m doing a migration for a client, I have them create the account on Namecheap and enter their organization’s credit card. Then I have them give me the login to take it from there. You can do the same with other registrars.
TIP: I make sure the domain name contact info is sent to my email address so I can monitor it during the transfer process.
Disclosure: Some of the links on this page are affiliate links. This means if you click on the link and purchase the item, I will receive an affiliate commission at no extra cost to you. I test or research each service before endorsing it. I own this site and the opinions expressed here are mine.
5. Set Up the Domain Name at the New Registrar
At this point, you’ll need to set up the domain name at your new registrar. Namecheap is an industry standard in domain names, and I highly recommend them.
Right in Namecheap’s main menu is a link called “Transfer to Us”. Hover over that and select “Transfer Domain”.
Enter the name of the domain to transfer and follow the instructions. You’ll be asked to enter the transfer key that you got from Squarespace.
6. Set Up the New Nameservers
If you’re using Squarespace’s nameservers (and if it was set up there, you probably are), you will need to use new nameservers when you transfer the domain name, because Squarespace’s nameservers will go away after the transfer.
Namecheap offers free a free DNS called, well, “FreeDNS”. Once you select this at Namecheap, you’ll have to copy a TXT record into the existing DNS records at Squarespace before it can be used.
Once you do that, it takes less than an hour to be activated. Note that “activated” means “ready to use”, not that it is actually being used yet.
After it’s activated, you can start entering the new DNS records which you copied from a few steps back (right?).
This is under a tab called “Advanced DNS”, which I thought at first was a different product. It is actually where you edit the records for FreeDNS.
Very carefully enter the DNS settings that you copied from Squarespace here. If you make a mistake, your site might not show up after the transfer and email might not work (if you are using the domain name as your email address), so double and triple check!
TIP: If I’m doing a transfer for a client, I always make sure I have an alternate email address and their phone number IF they are using the domain name as their email address. During the process I keep them updated on both their main email address and the alternate, in case something goes wrong.
7. Start Using the New Nameservers BEFORE Transferring the Domain Name
When you’re sure you’ve copied the DNS settings properly, you should switch to using the new nameservers (at Namecheap in this case).
This is important to avoid downtime after you transfer the name. Squarespace gets rid of the domain name’s nameservers soon after the transfer is completed (i.e., less than 12 hours). If you haven’t specified new nameservers for the domain name in that time, the site won’t resolve and any email addresses using that domain name won’t work. (See Namecheap’s Domain Transfer FAQs at the end of this page).
Log back into Squarespace, go to the Domains section, and click on your domain. There should be a button that allows you to modify the nameservers. Change these to the nameservers specified by your registrar (in this case, Namecheap).
The change is not instantaneous and could take a day to migrate. Do a “whois” on the domain name to verify when it’s done.
After you verify the nameservers have changed, verify that email is working as well (if you are using an email address with the domain name in it).
8. Initiate the Transfer
OK, most of the tricky parts are done now. Go into Namecheap and initiate the domain transfer!
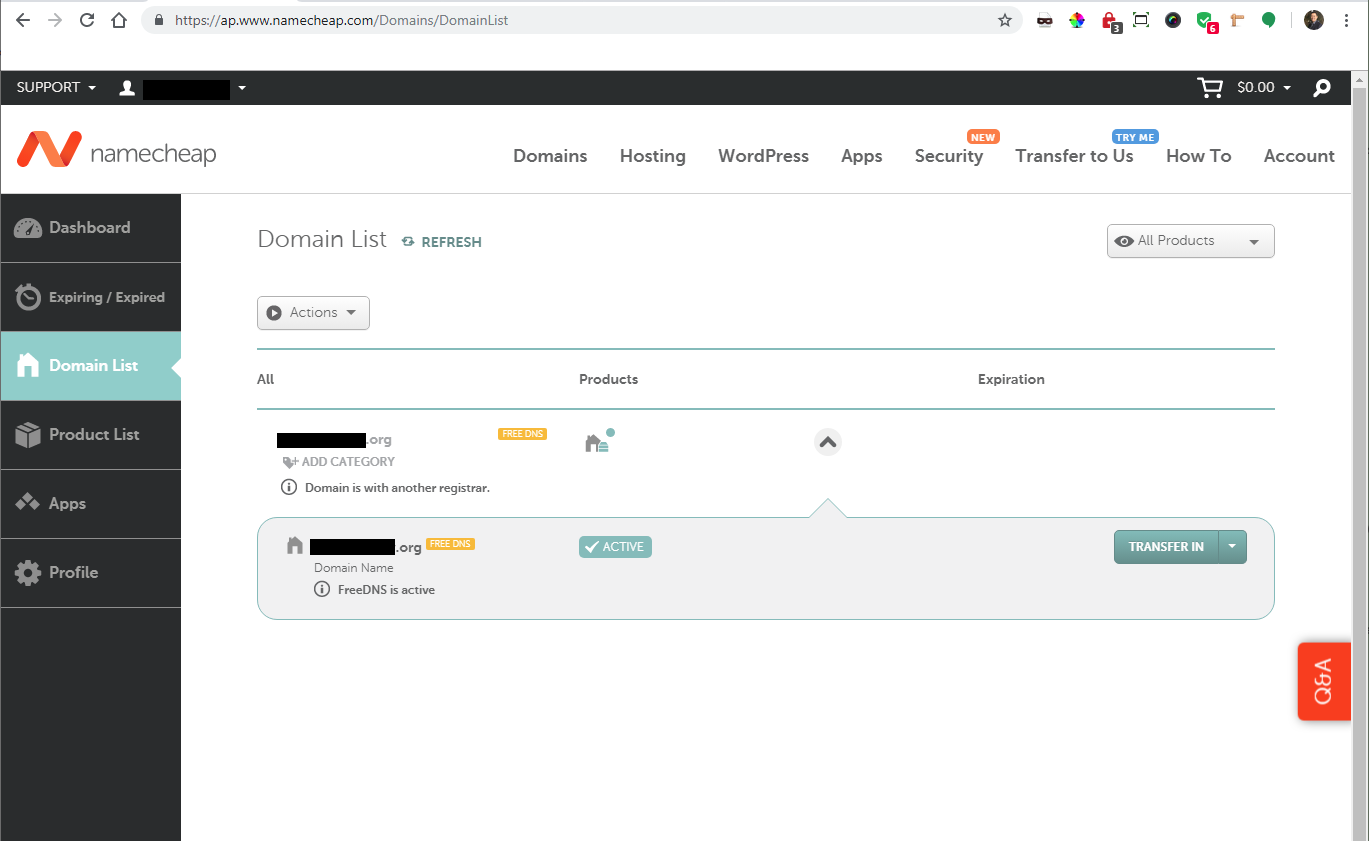
Once you kick off the transfer, you can monitor the status in the Namecheap dashboard. After a while (less than an hour), it will go to “pending”, where it will stay for seven days!
9. Check Everything After the Transfer Is Done
When complete, you’ll get Domain Transfer Complete email from Namecheap (or whoever the destination registrar is).
Test the website associated with the domain, as well as any email addresses associated with it. At this point, it should be kind of a formality because the nameservers were changed previously.
Because you previously set the domain name at Squarespace to use your new nameservers, the domain will continue to use Namecheap’s nameservers after the transfer, and there should be no downtime. And, FreeDNS will automatically switch to Namecheap’s default nameservers with the same settings.
8. Celebrate and Have a Beer
Congrats, the change is done!
Let me know if this guide was helpful to you, or if you have any questions, corrections, or clarifications! – Brian

I am a freelance web developer and consultant based in Santa Monica, CA. I’ve been designing websites using WordPress and from scratch using HTML, CSS, PHP, and JavaScript since 2010. I create websites and web applications for businesses, nonprofits, and other organizations. I have a degree in Electrical Engineering (BSEE) from California Institute of Technology and a degree in Engineering Management (MSEM) from Stanford University.
Please Leave a Question or Comment